Page 1 of 2
Case assembly
Posted: Sat Nov 10, 2012 4:37 pm
by Tony
Unpack the case piece bag and seperate the laminate parts for sanding. The pieces shown here were just roughly sanded but spending some time here wet sanding with fine emery paper will give a *much* smoother rounded finish.
If you've bought the limited Brass-top version you'll need metal polish and a rat-tail file or Dremel to tidy up the nixie cutouts - make sure they are clear before fitting as some nixies can be a tight fit.
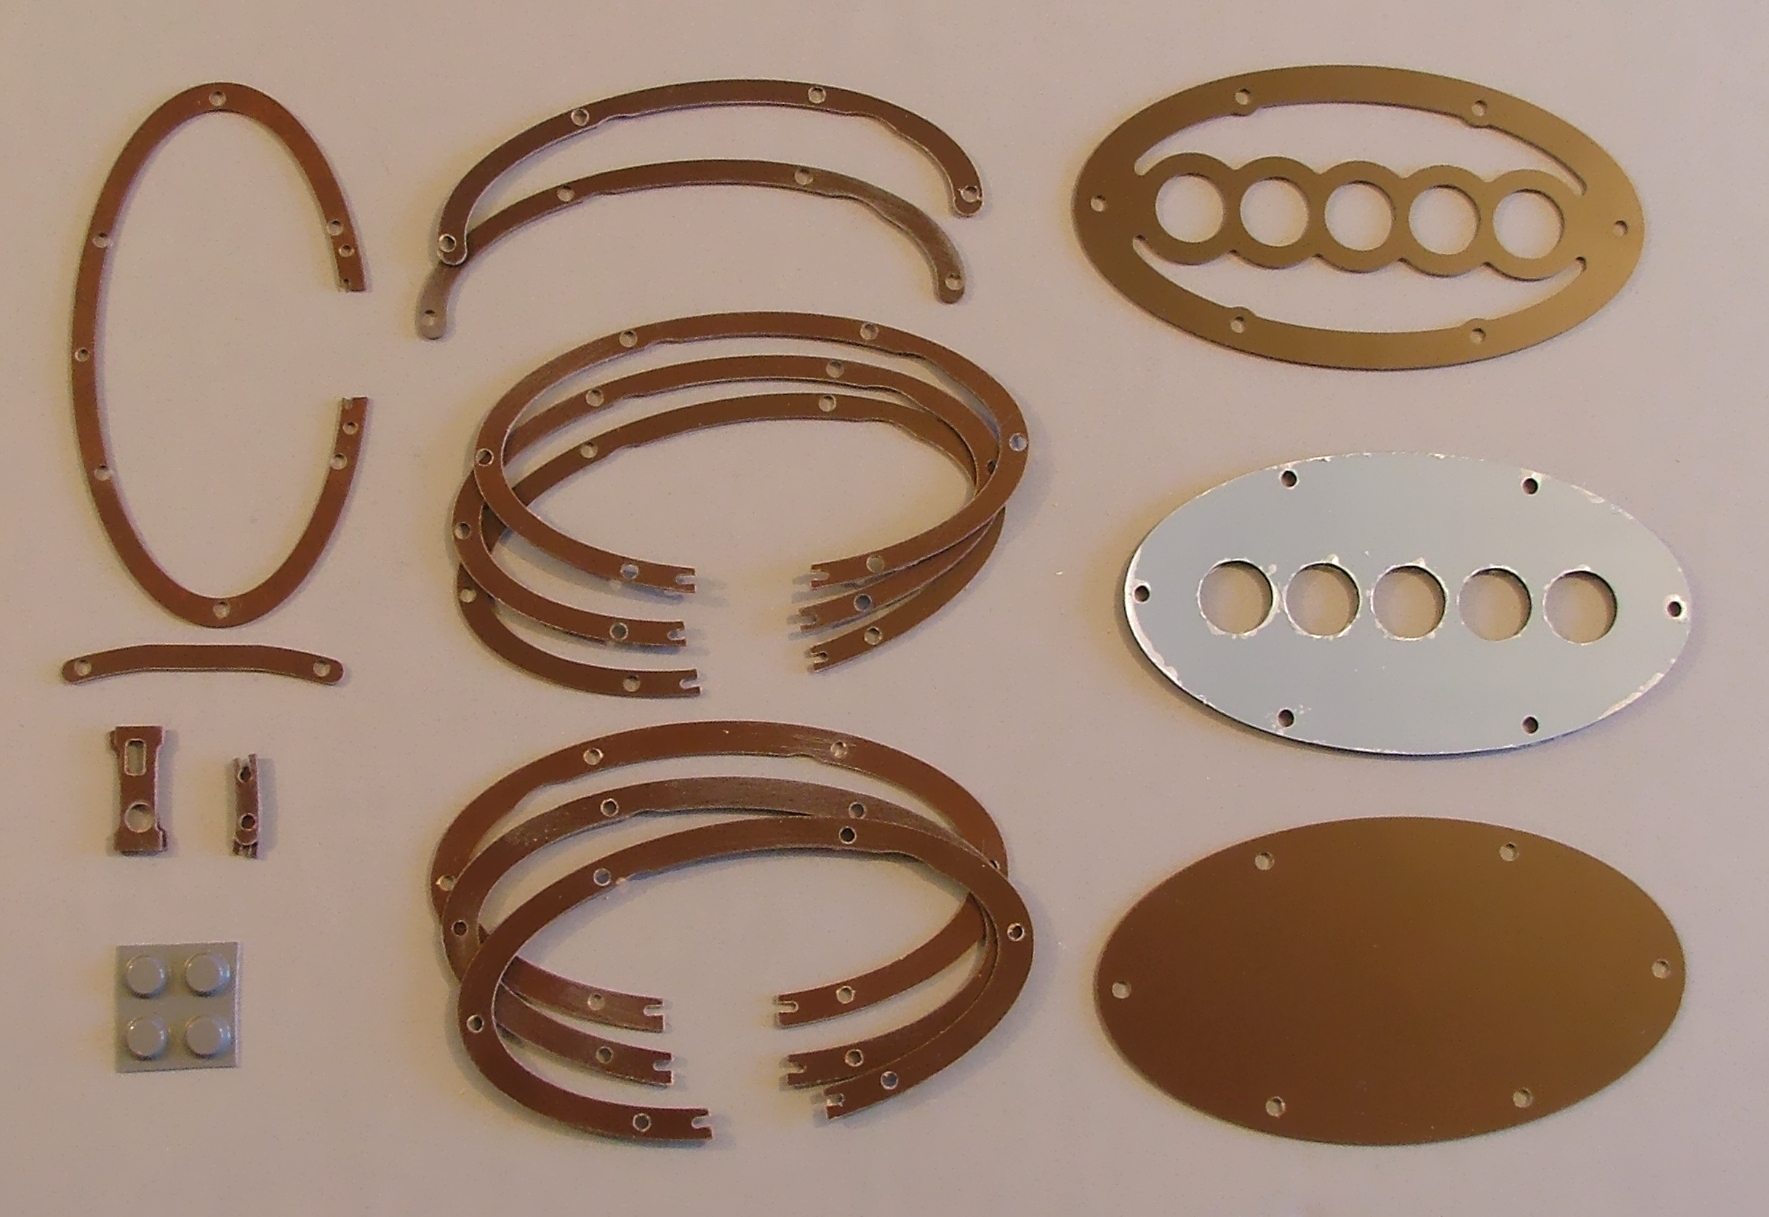
Carefully sand the case top and bottom making sure not to scratch them, the side rings will be hidden so scratches aren't so much of a problem but the are fragile so don't put too much pressure on them.
Re: Case assembly
Posted: Tue Apr 09, 2013 4:36 am
by Tony
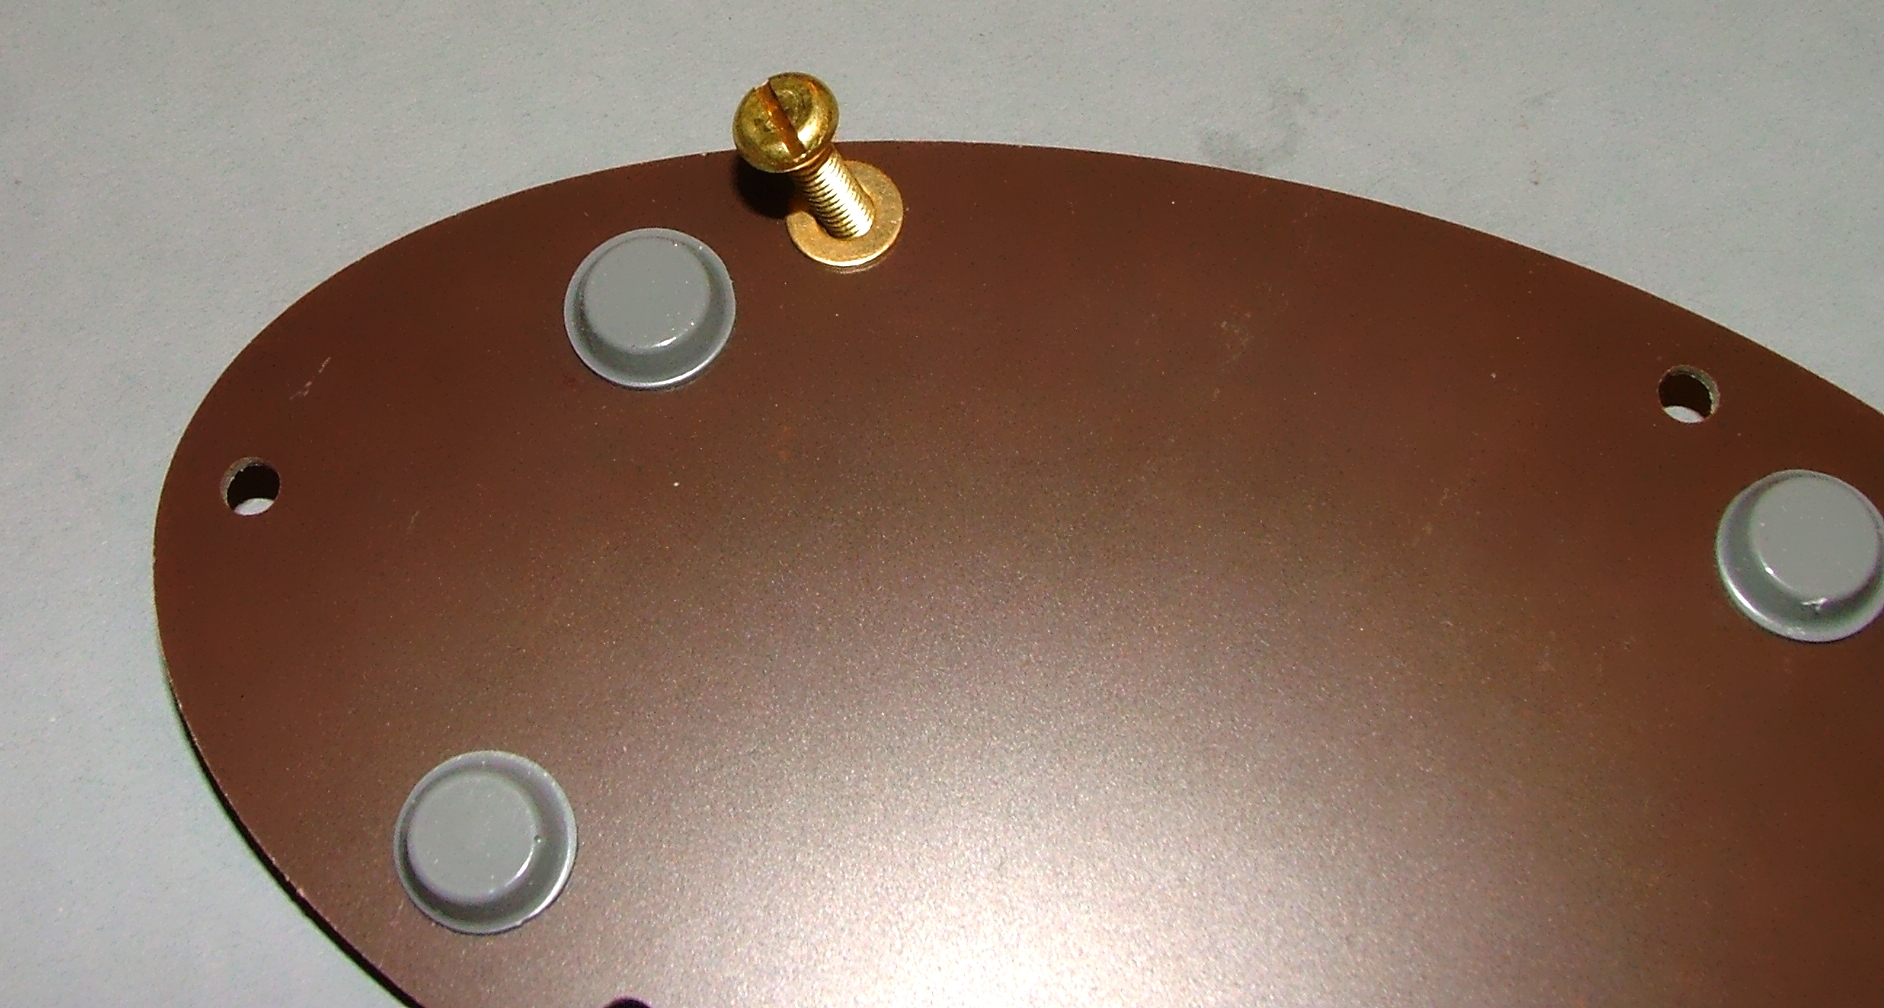
Starting with the case bottom, choose the best side to face out and stick the 4 rubber feet on as shown:

Re: Case assembly
Posted: Tue Apr 09, 2013 4:37 am
by Tony
Feed one brass M4 bolt with washer through each hole - use some masking tape to keep them in place if needed.
Re: Case assembly
Posted: Tue Apr 09, 2013 4:38 am
by Tony
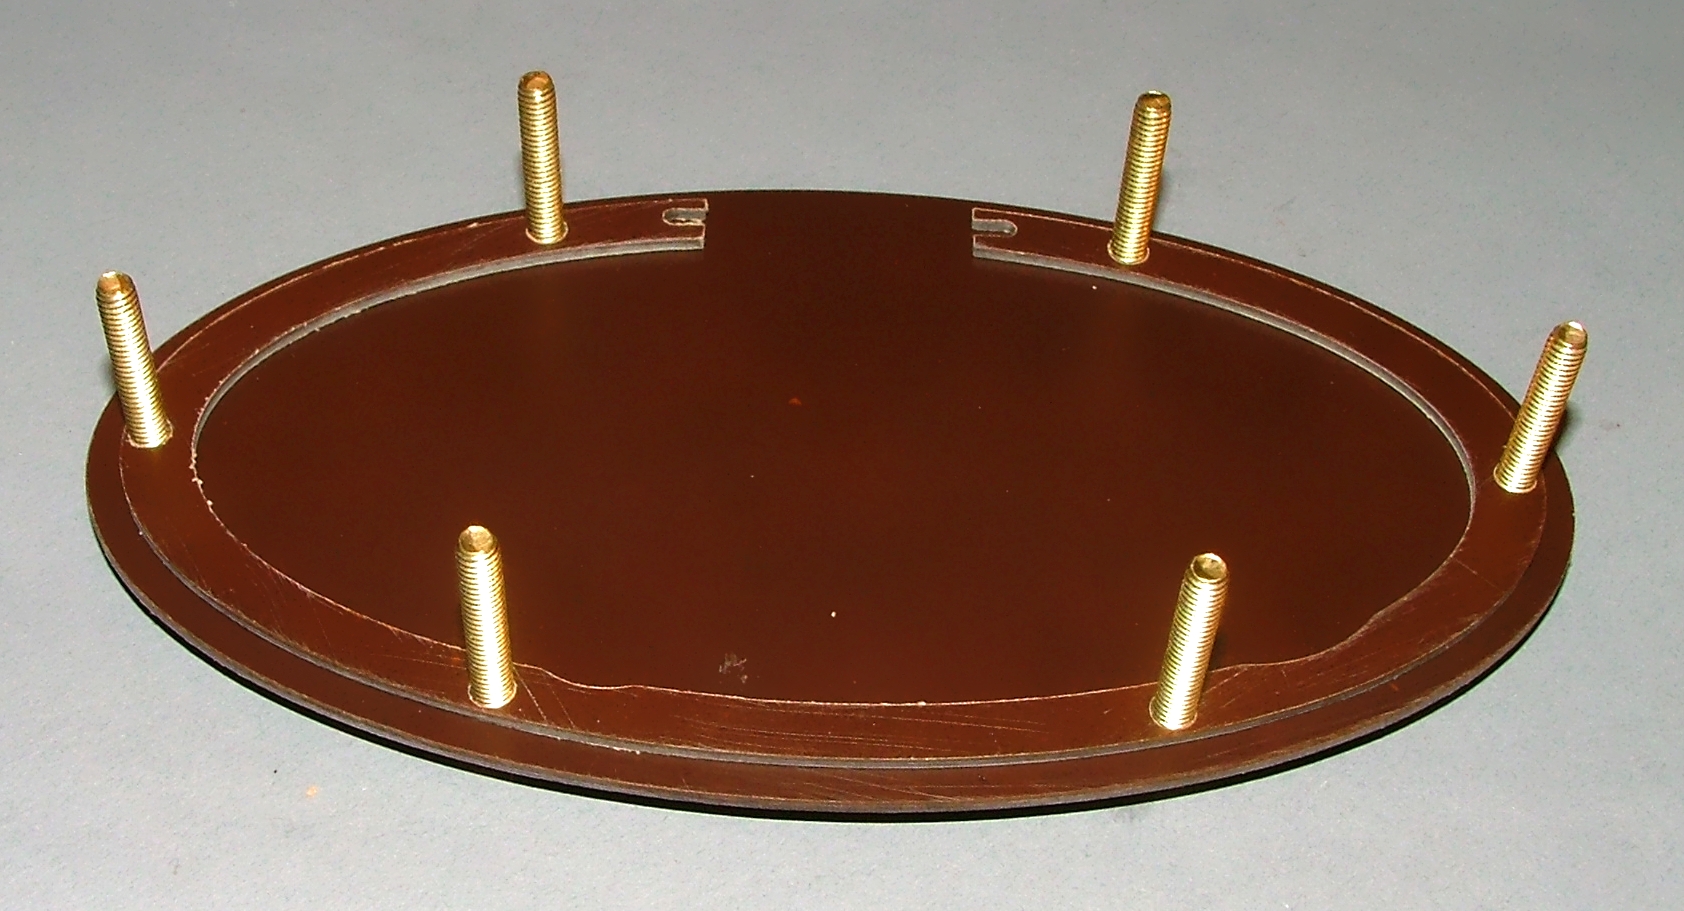
Now turn it over so the bolts face up:

Re: Case assembly
Posted: Tue Apr 09, 2013 4:40 am
by Tony
Fit one of the 'thin' rings onto the bolts - these are the rings withe very little space between the bolt hole and the outer edge:
Fit the silicone rubber heatsink pad as shown, just to the right of the left front bolt. Remove the protective plastic film on BOTH sides of the rubber pad first:

Re: Case assembly
Posted: Tue Apr 09, 2013 4:41 am
by Tony
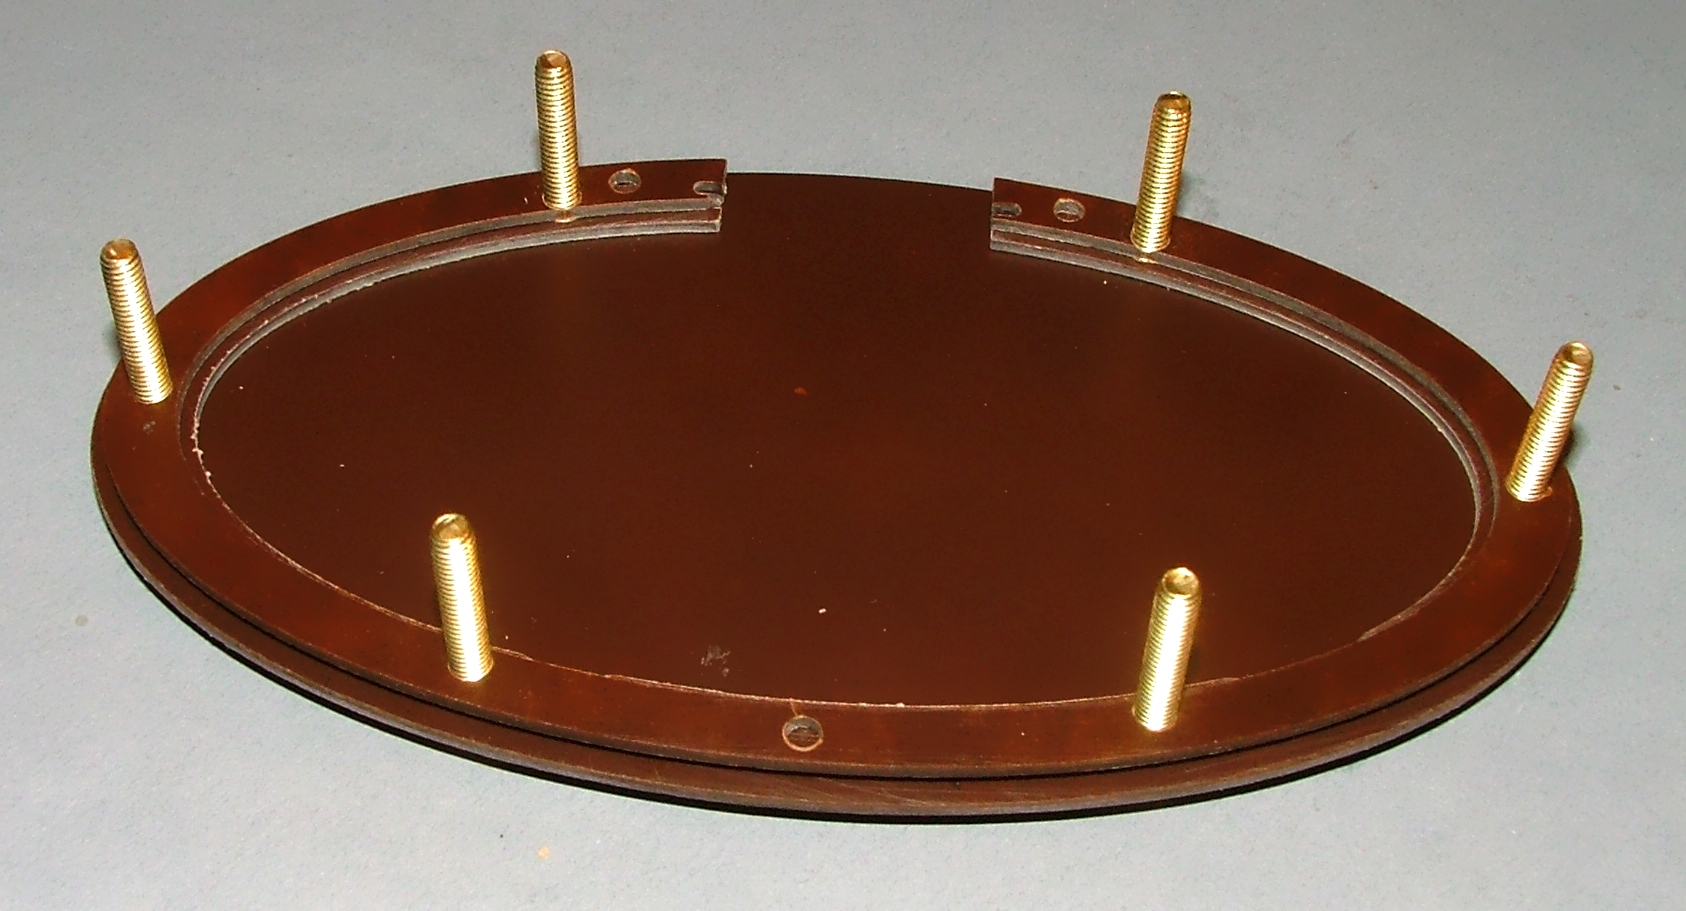
Now fit the PCB spacer ring - this has 2 small holes next to the back panel notches:
Re: Case assembly
Posted: Tue Apr 09, 2013 4:48 am
by Tony
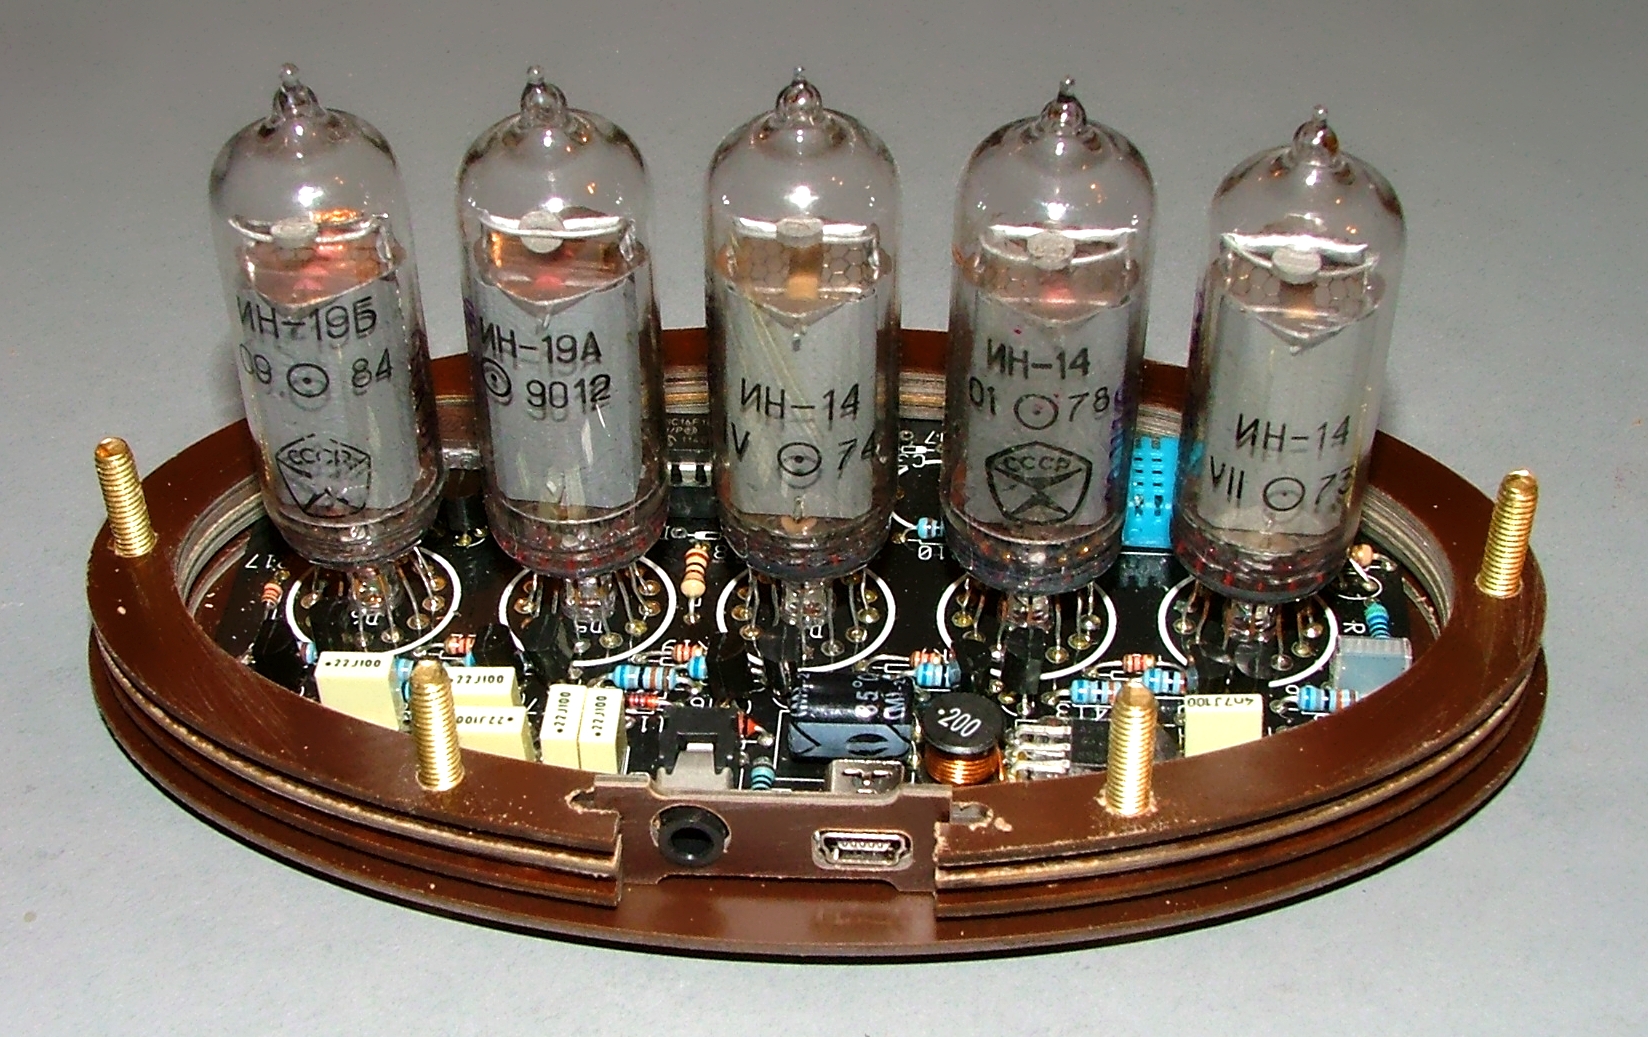
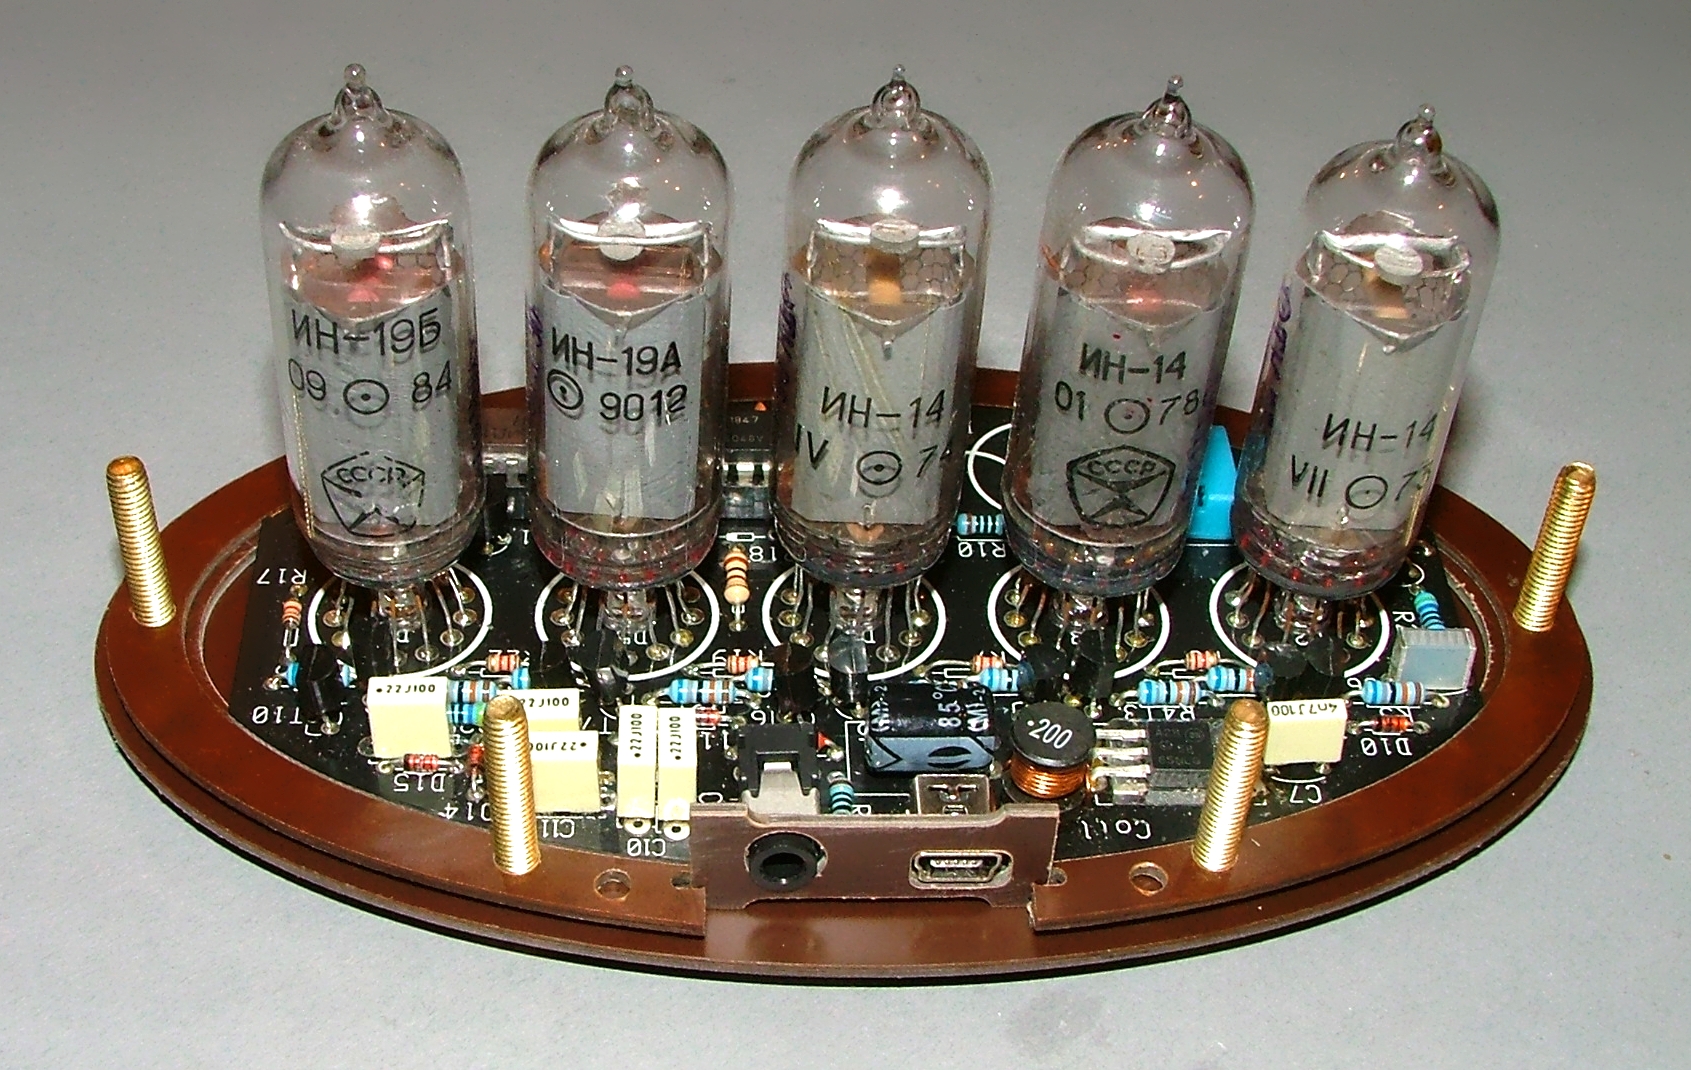
The PCB should now drop inside the second ring and rest on the edge of the first. Now don't forget to fit the back panel:
Re: Case assembly
Posted: Tue Apr 09, 2013 5:04 am
by Tony
Now fit one of the half rings onto the front 4 bolts and one of the ring ends onto each of the bolts next to the back panel (sorry about the photo):
Fit one of the 'thick' rings over these:

Re: Case assembly
Posted: Tue Apr 09, 2013 5:06 am
by Tony
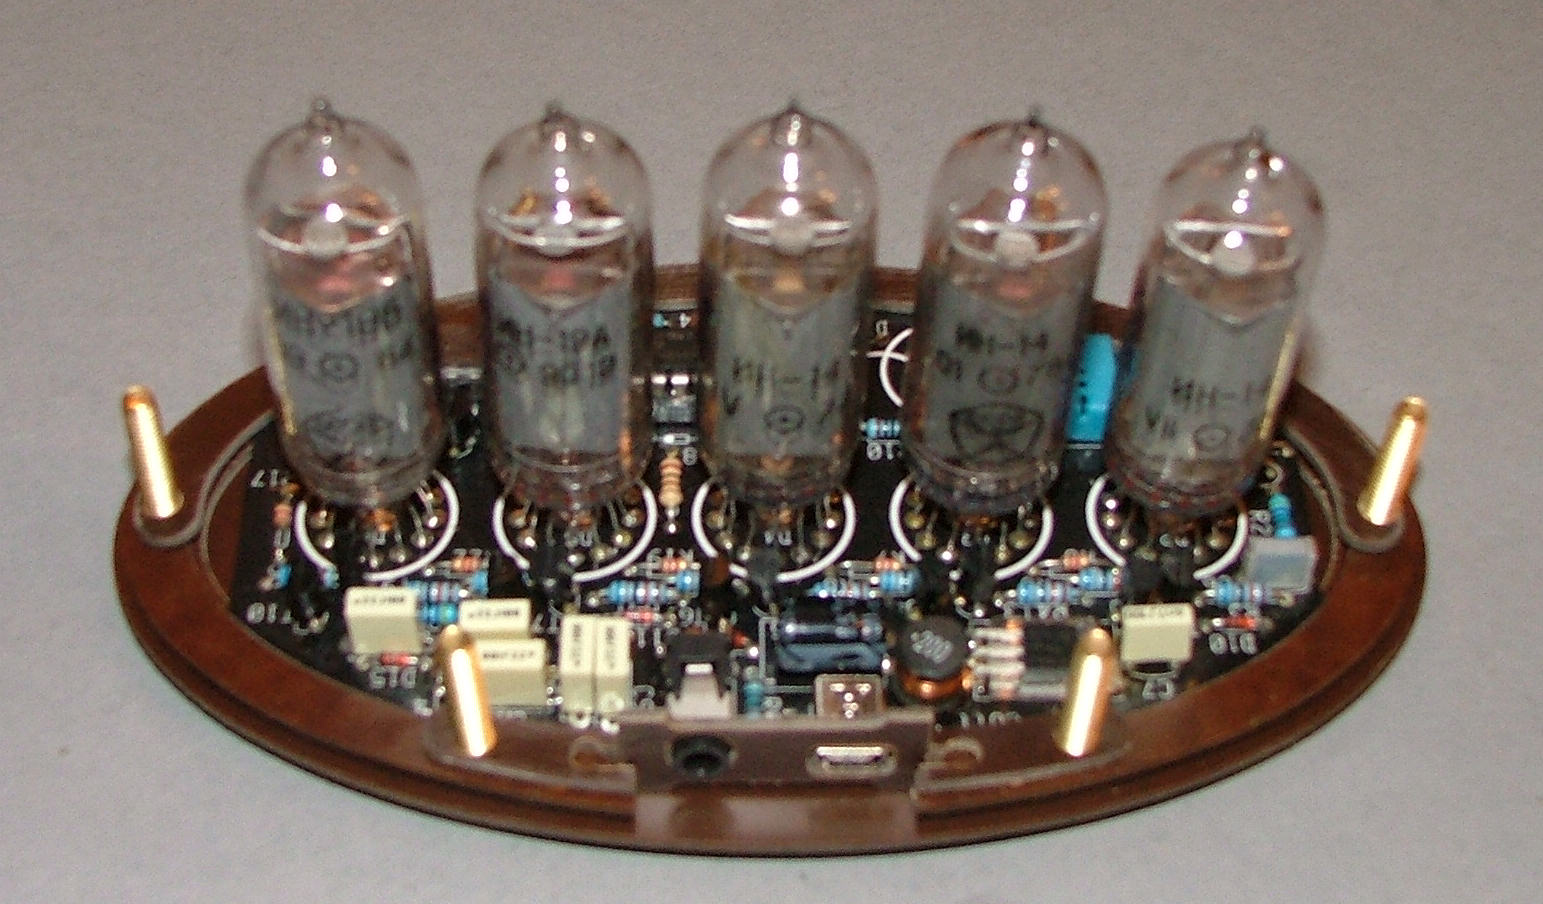
Re: Case assembly
Posted: Tue Apr 09, 2013 5:08 am
by Tony
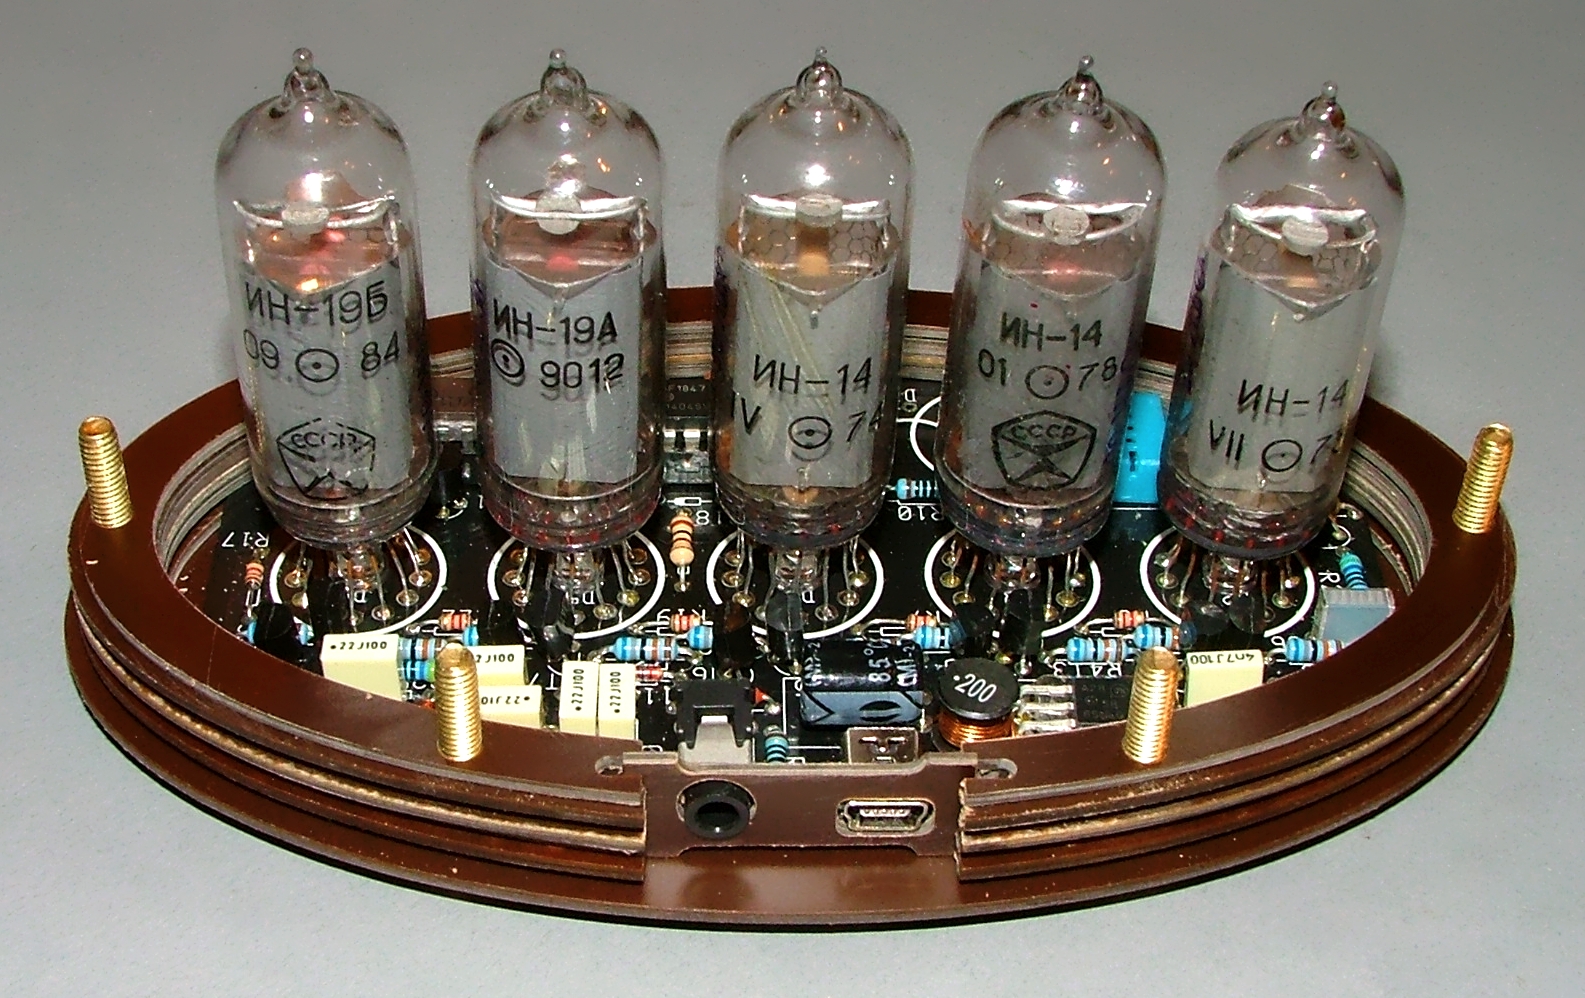
The rings should now be level with the top of the back panel. Fit the other half ring over the front 4 bolts and the quarter ring over the 2 rear bolts and back panel: