Page 1 of 1
Board case
Posted: Mon Dec 07, 2015 8:04 pm
by Tony
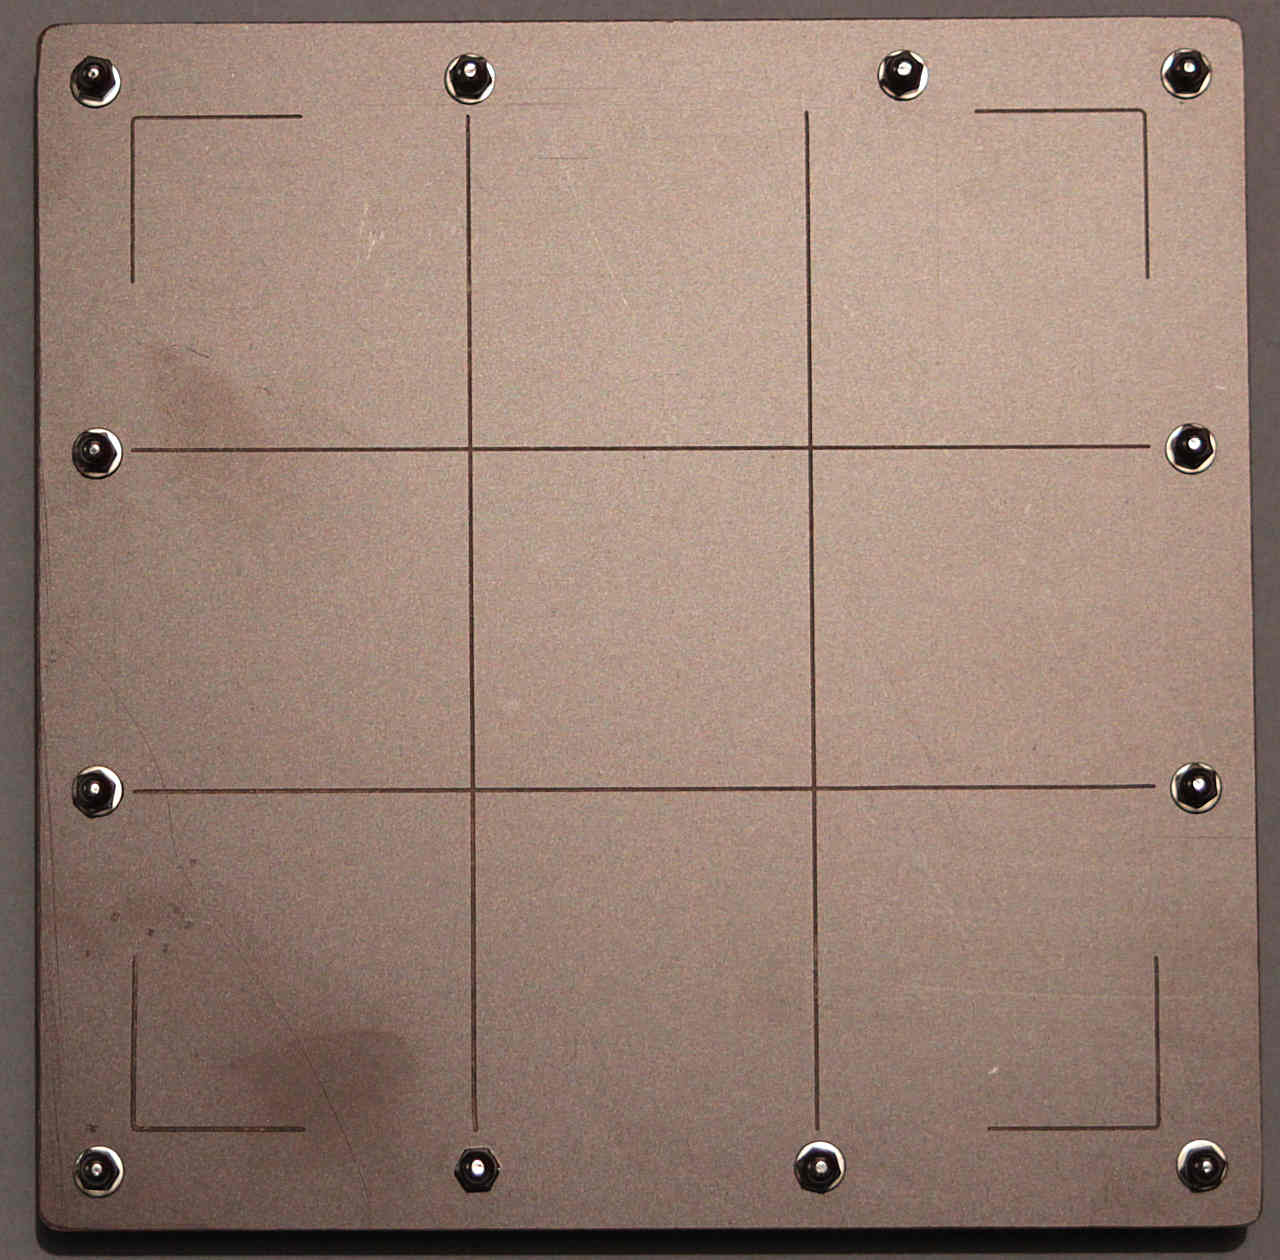
Once the main PCB is completed and tested it can be built into the base case.
Gently brush the top panel engravings to remove any loose dust. You'll need to fill the engravings to make them legible, I used white acrylic fabric paint as it was handy - you could try other colours or materials.
Rub the paint into the engravings, making sure they're filled and there are no air bubbles:
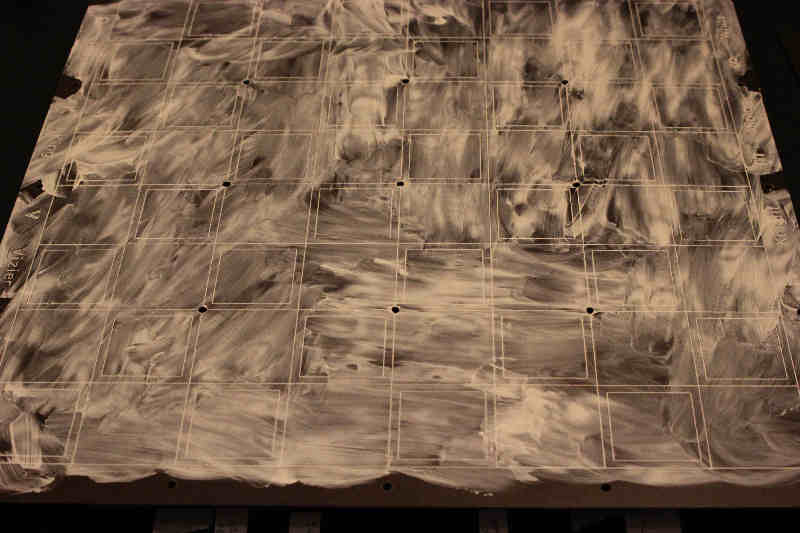
Leave to dry then rub off the excess paint, taking care not to remove too much from the engravings. Yes I know it's a photo of the chessboard top...

Re: Board case
Posted: Sat Dec 19, 2015 3:38 am
by Tony
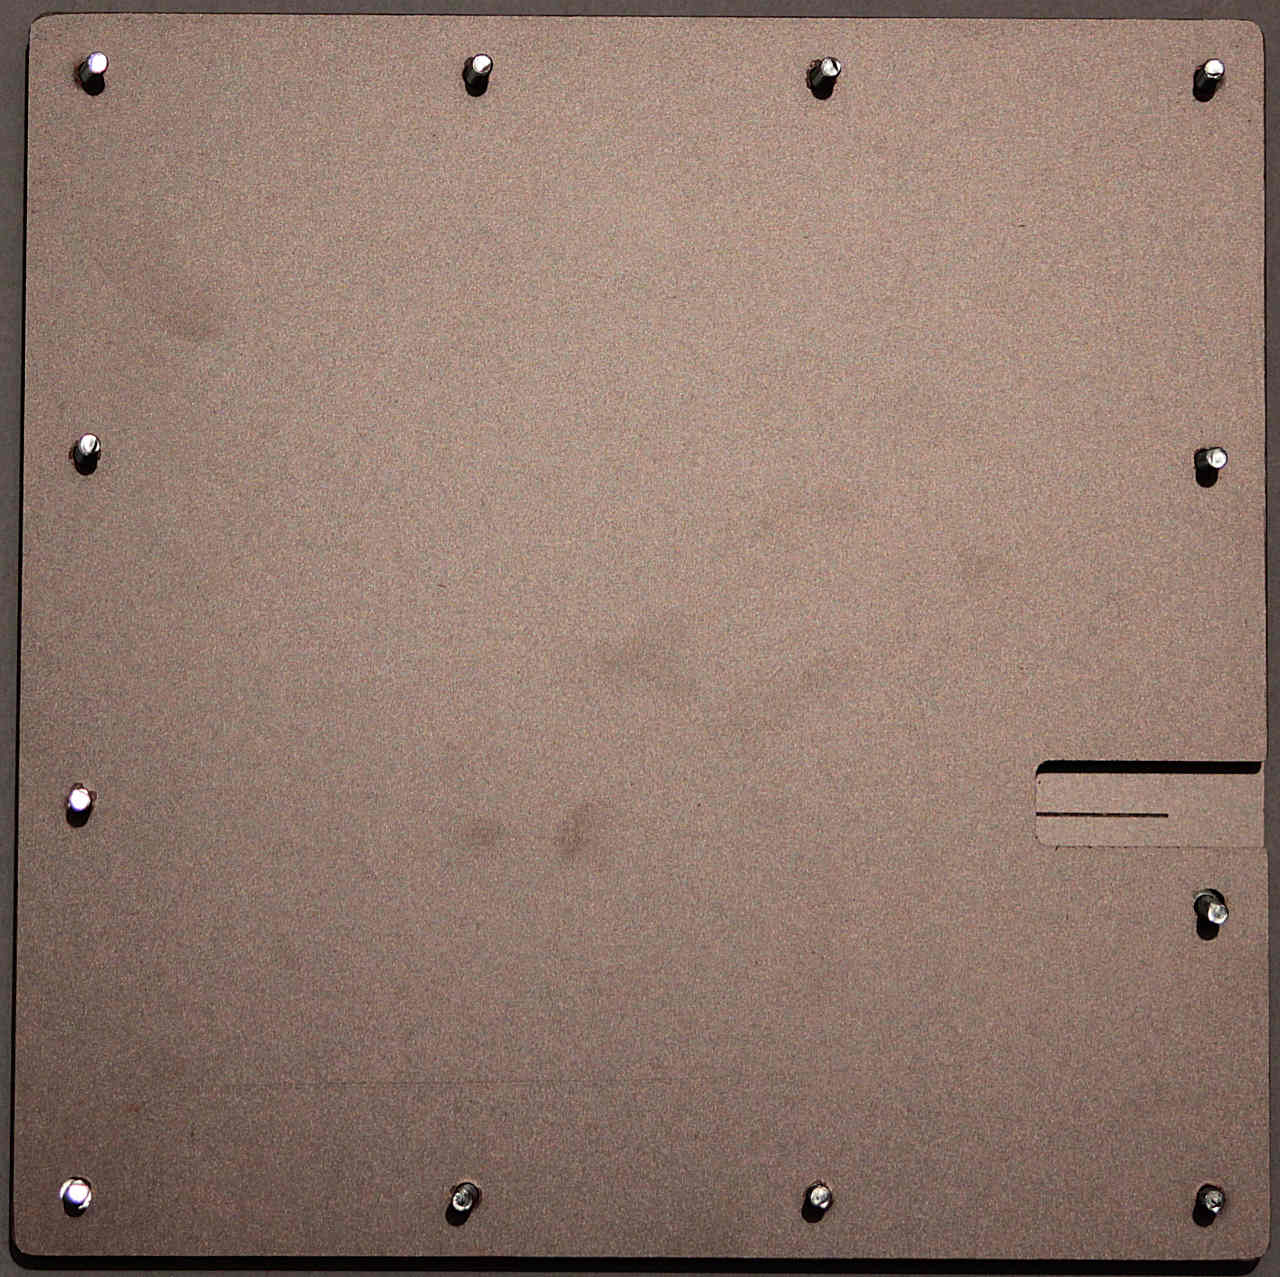
Sand the rough edges of the panels and strips - it won't matter if the strips are scratched as only the edges are visible but try not to scratch the panels. Any scratches can be polished out with 'T-cut' or similar polishing paste.
Take the 12x M3x16 bolts from bag1.
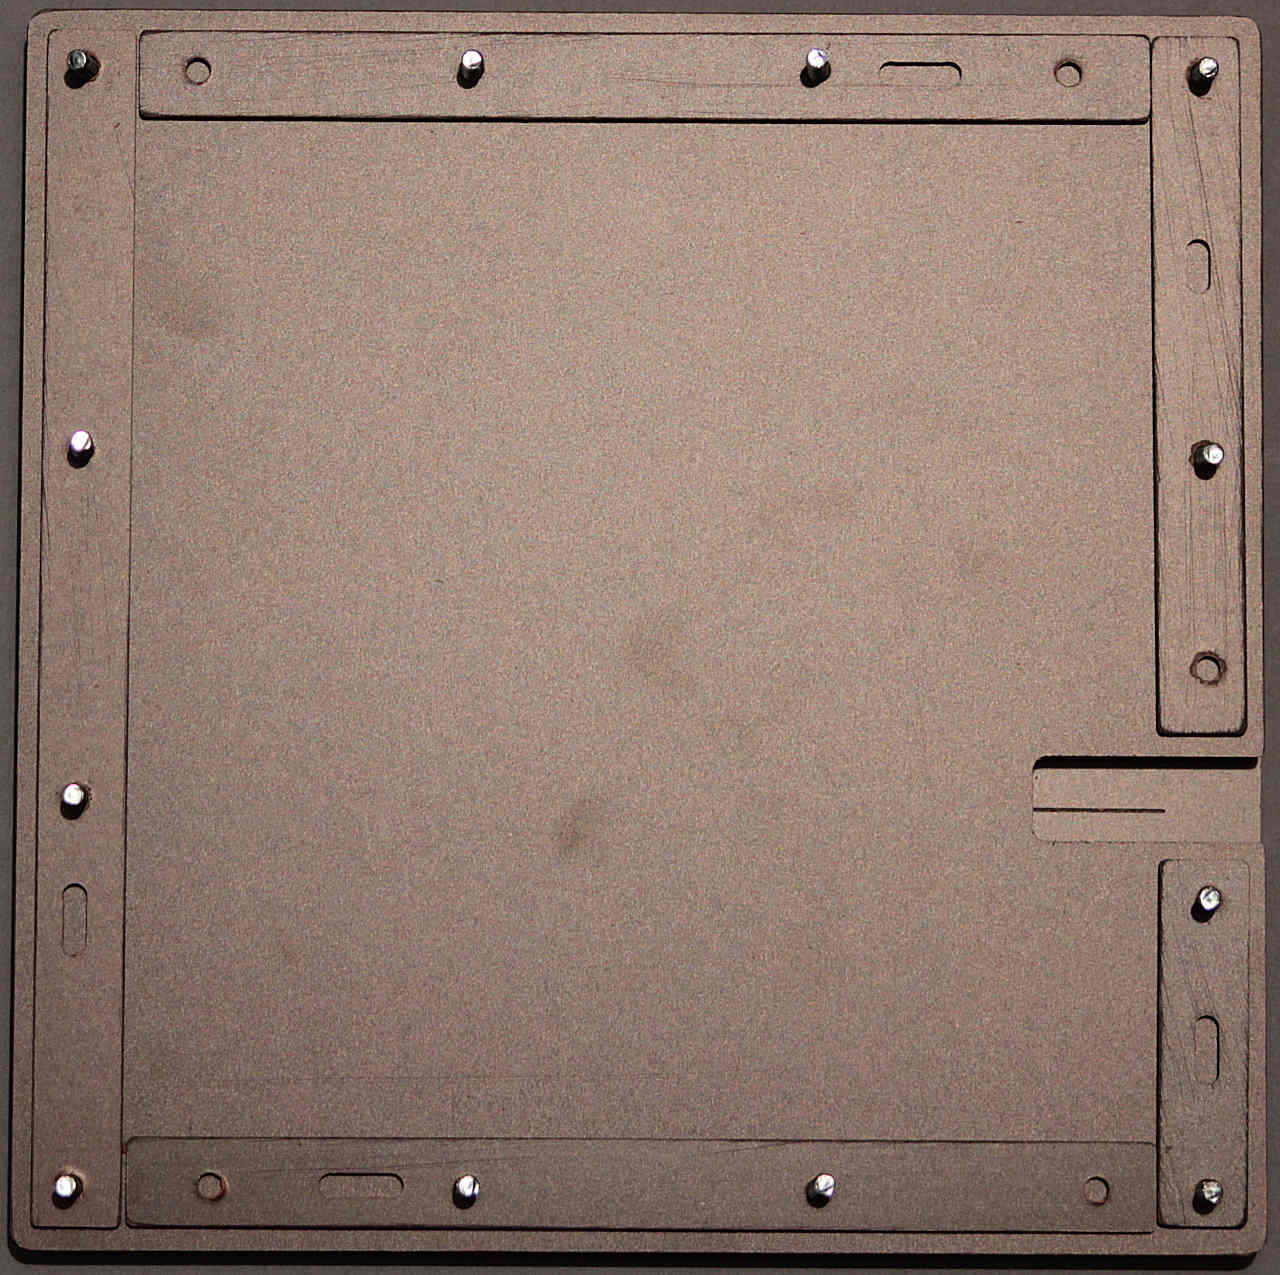
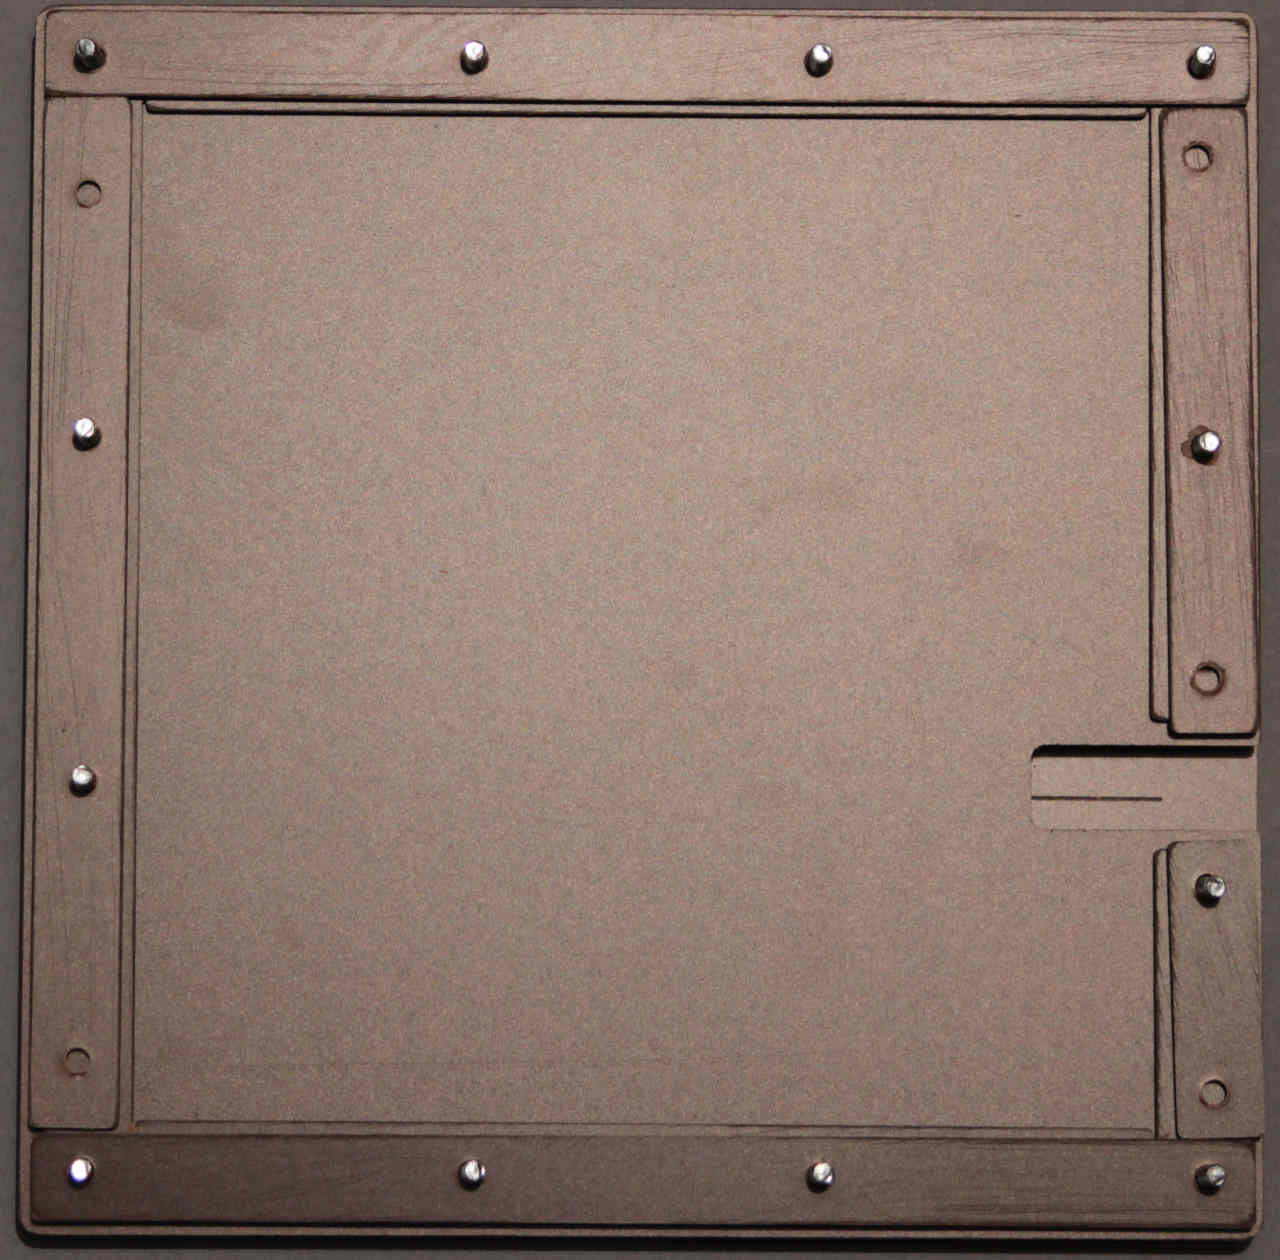
Turn the baseboard so the cutout is facing right and rest it on something that will keep it a couple of inches above the table. Fit the bolts through the holes in the base panel and hold in place with masking tape.

Turn the board over ready to start building up the sides:
Re: Board case
Posted: Sat Dec 19, 2015 3:42 am
by Tony
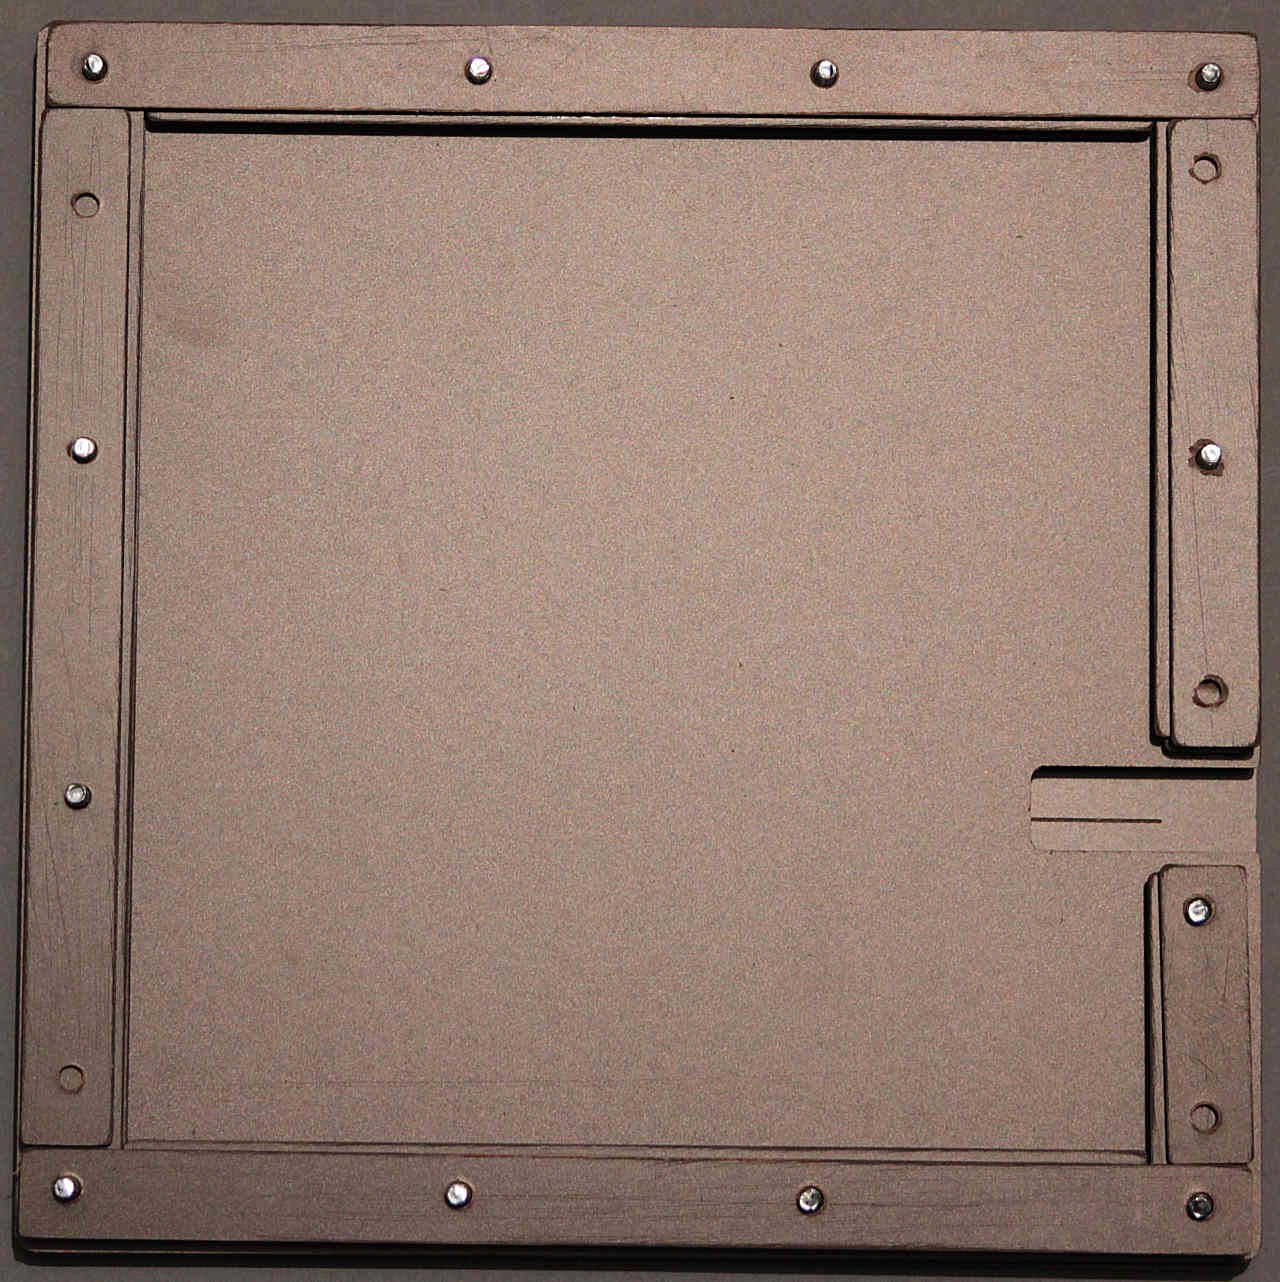
Sort the pile of spacer strips into two lots - one with notches cut into them and one without. Starting with the shortest piece with a notch, fit it onto the corner the work your way round clockwise, forming one layer of strips with notches:
Re: Board case
Posted: Sat Dec 19, 2015 3:48 am
by Tony
For the next layer, put down the shortest piece without a notch on top of the first piece fitted last time followed by one second longest no-notch piece, one longest no-notch and one more second longest no-notch piece, finally completing the second layer with a second-shortest no-notch piece.
Re: Board case
Posted: Sat Dec 19, 2015 3:48 am
by Tony
Layer 3:

Re: Board case
Posted: Sat Dec 19, 2015 3:49 am
by Tony
Layer 4:
Re: Board case
Posted: Sat Dec 19, 2015 3:50 am
by Tony
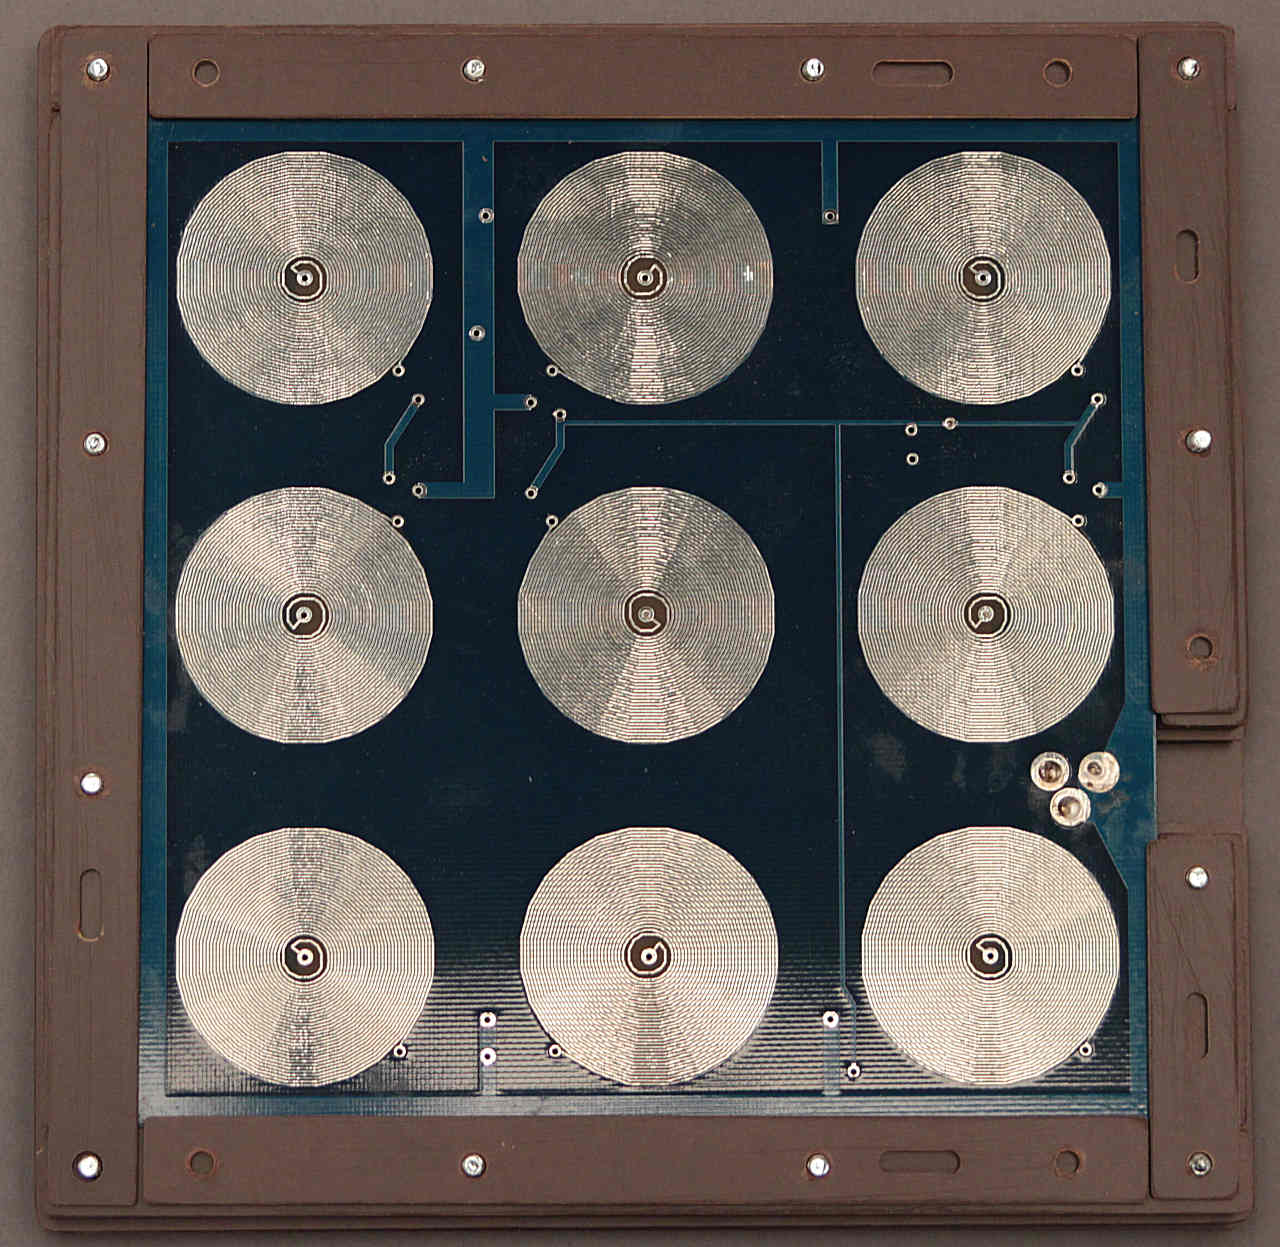
Drop the base PCB onto the lip formed by the thrird layer, with the coils facing up:

Re: Board case
Posted: Sat Dec 19, 2015 3:51 am
by Tony
Fifth layer - these overlap the edges of the PCB to hold it in place:
Re: Board case
Posted: Sat Dec 19, 2015 3:52 am
by Tony
Now carefully fit the top panel, drop a washer over each bolt and finger-tighten the dome nuts: